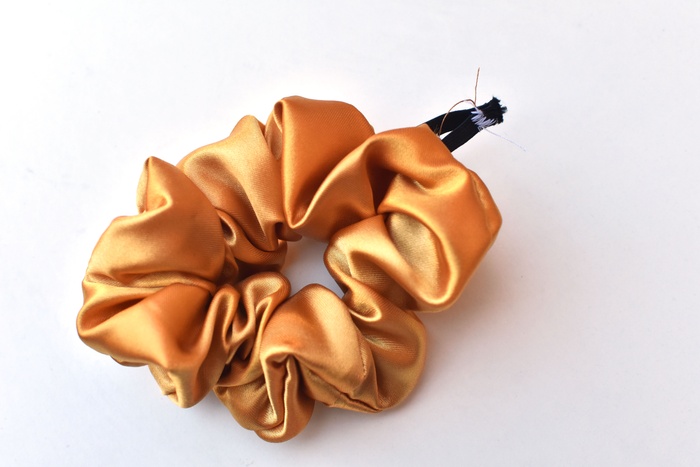
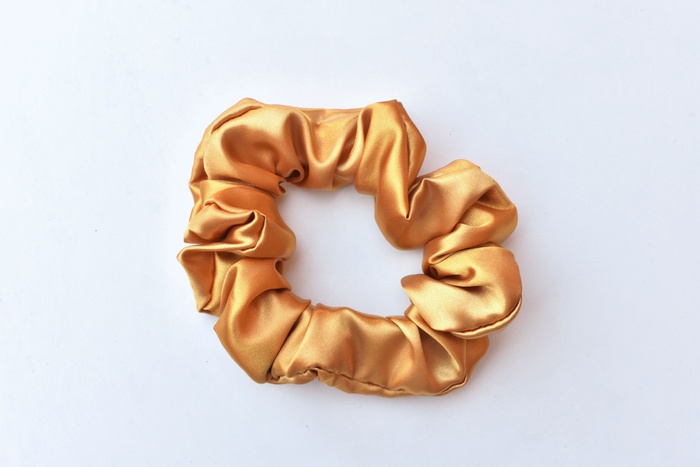
How to make a scrunchie under 15 minutes
Tuesday, April 14, 2020
One of my favourite small sewing projects is making a scrunchie. Not only can I use my fabric scraps, but I also get a matching and stylish “bracelet” to my self-made outfits. If you don’t have a sewing machine, don’t worry, with a bit of patience, you can hand-sew a scrunchie too!
The previous method I was using required to assemble small pieces of fabric which was sometimes really tricky. A quick little project could quickly get much longer and take me up to an hour to make! But I’ve recently found a better way to make scrunchies and I wanted to share it with you. I find this method much quicker and gives a more refined look! Let me know what you think!
Material to sew scrunchies:
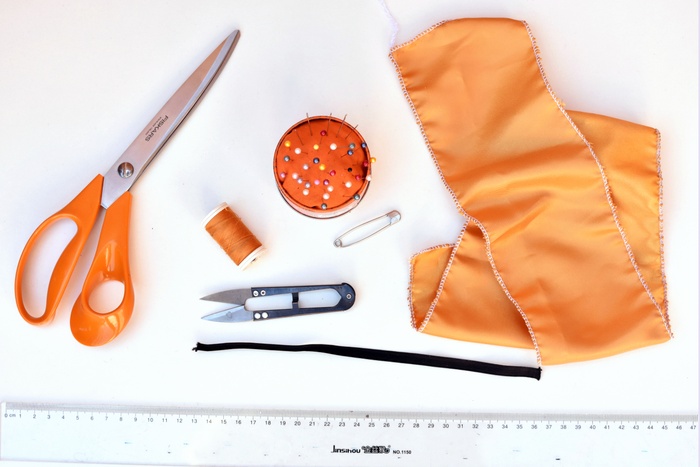
- Light-medium weight fabric such as cotton, velvet, satin: 60x10cm (23.5 x 4 inches)
- Elastic 20cm (8 inches)
- Sewing classics: a matching thread, a needle, pins, a safety pin, scissors, measuring tape or ruler
For hand-sewing:
- Assemble the scrunchie with a hand-sewn running stitch
- Use preferably fabrics that don’t fray easily (stretchy fabrics work well)
11 steps to sew a scrunchie
-
Cut out the fabric. I overlocked the border of my fabric because satin frays very easily. For cotton it is not needed.
-
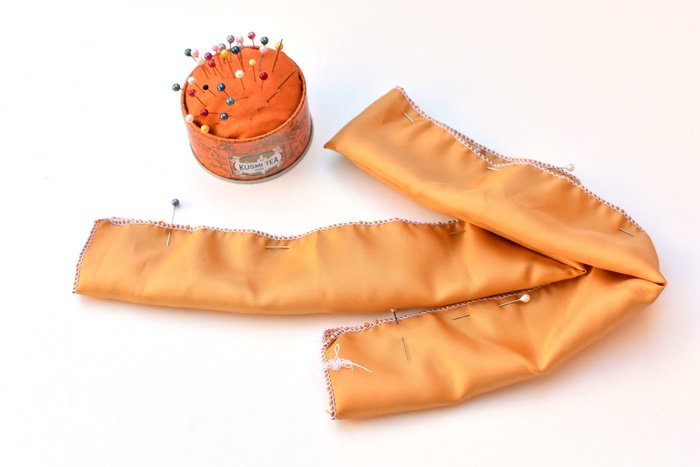
Fold lengthwise so that the fabric is inside out. Pin along the fabric.
-
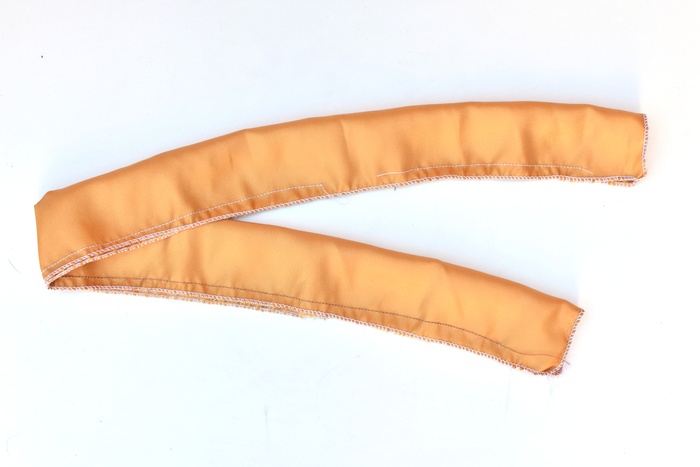
Sew a line 3 cm from each raw ends, leaving a 4 cm gap in the seam
-
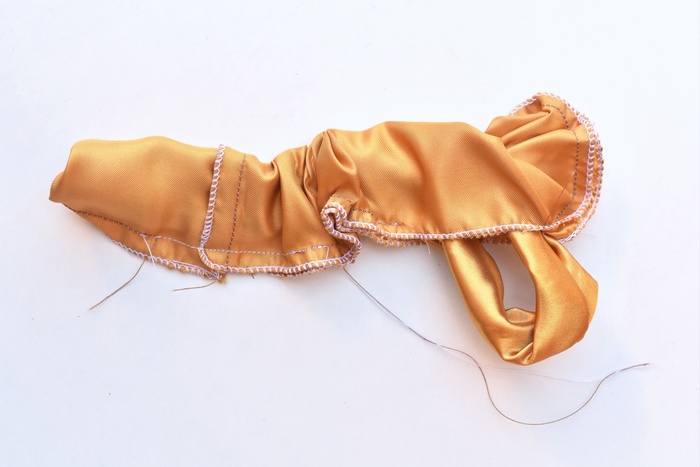
Turn the tube halfway inside. You can help yourself with a pin to pull the fabric through.
-
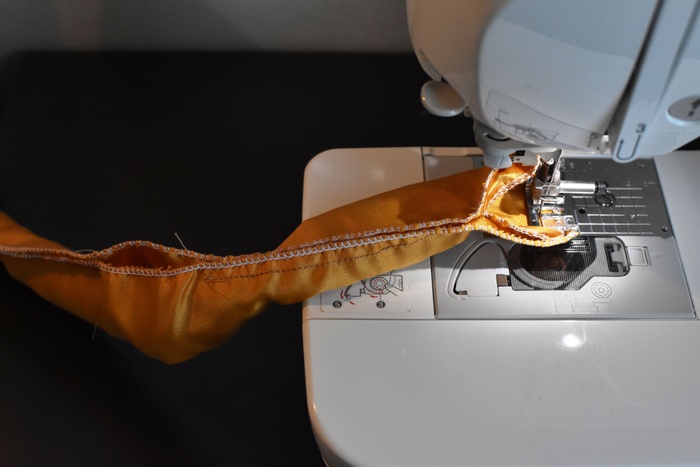
Match the raw ends and sew together
-
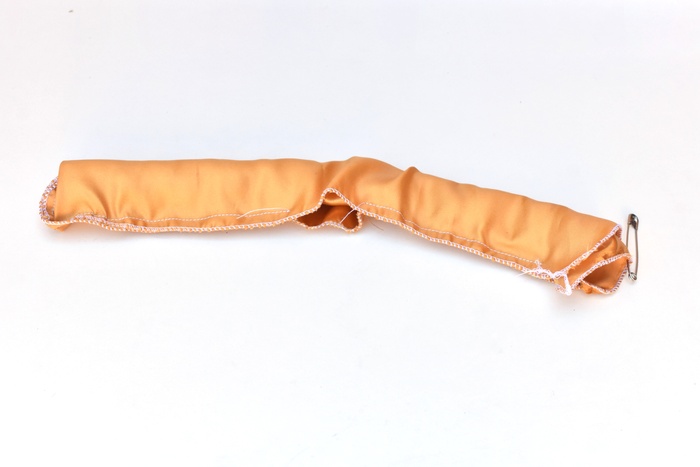
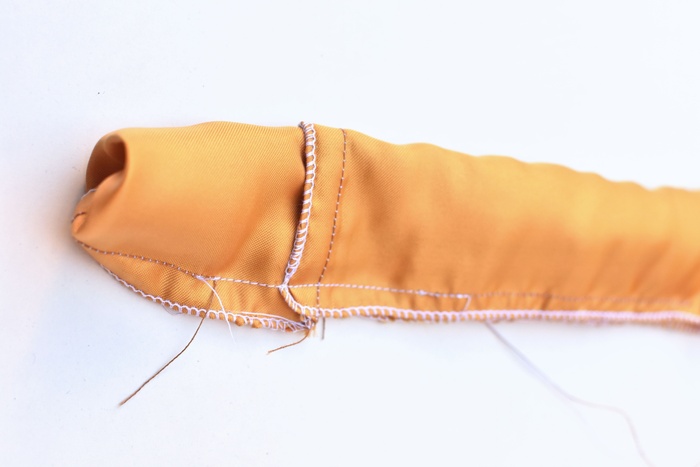
Pull slightly the fabric inside and sew the gap lengthwise (see the line sewn with the white thread on the picture)
-
Pull the whole fabric right side out through the 4cm hole in the seam
-
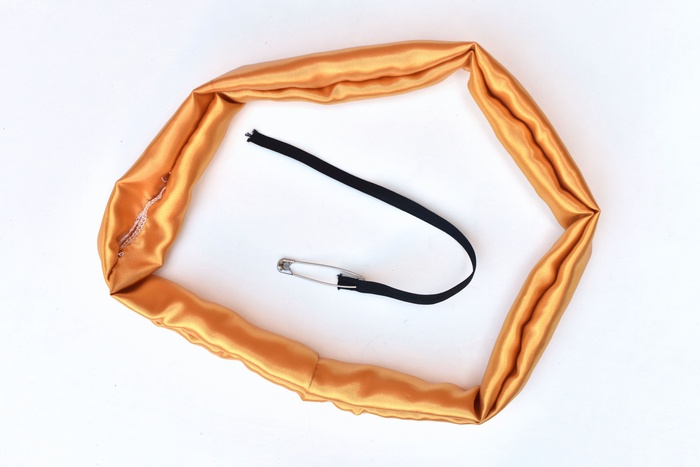
Cut the elastic - approximately 17 to 22cm (6.5 x 8.5 inches) depending whether you would like your scrunchie tighter or not.
-
Thread it inside the scrunchie with an attached safety pin
-
Sew the elastic together with a zig-zag stitch
-
Hand-sew the hole with a blind stitch, or in other words the invisible stitch
Voila! You have a brand-new scrunchie and you can wear it with your outfit!
And now if you make new clothing, you can quickly make a scrunchie too. In this way, everyone will notice you have made everything by yourself ;)
