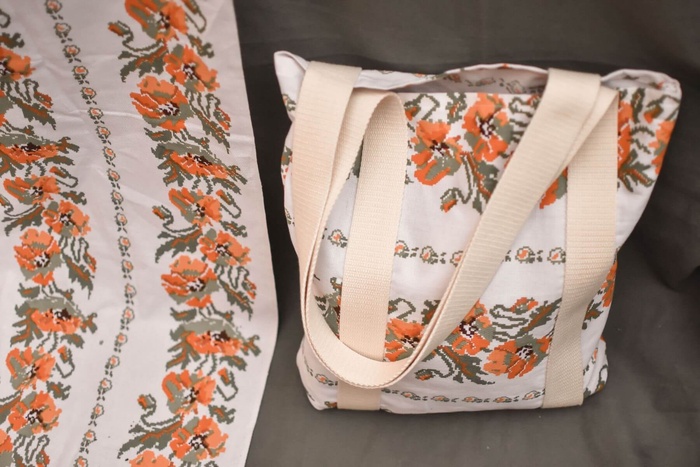
Marigold simple tote bag tutorial
Saturday, August 29, 2020
Easy to sew tote bag tutorial accessible to complete beginners in sewing.
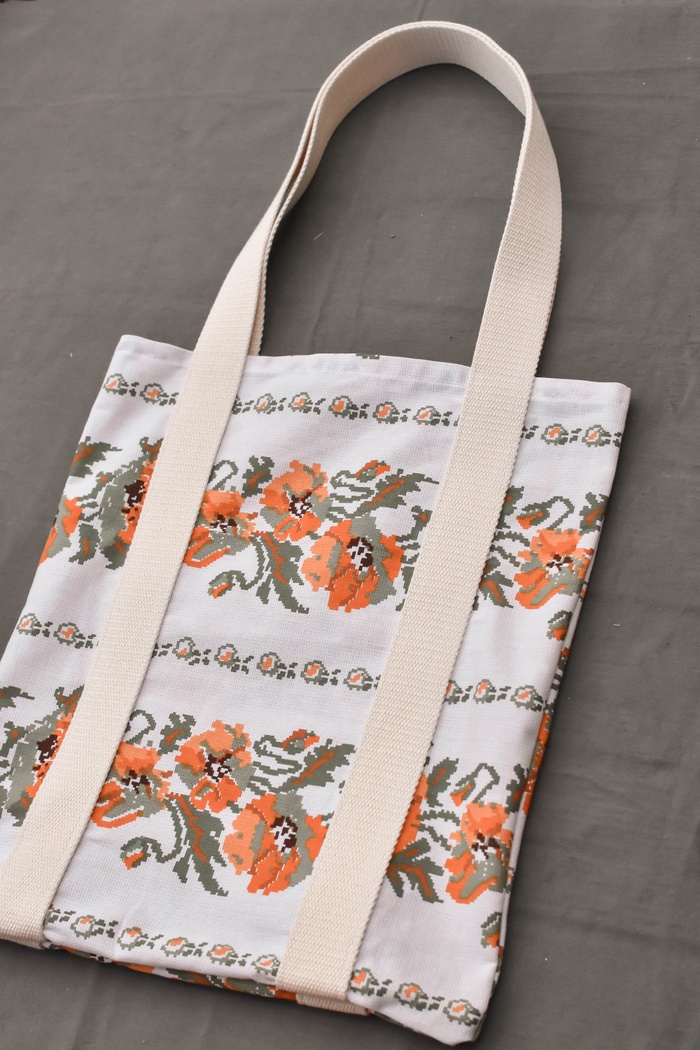
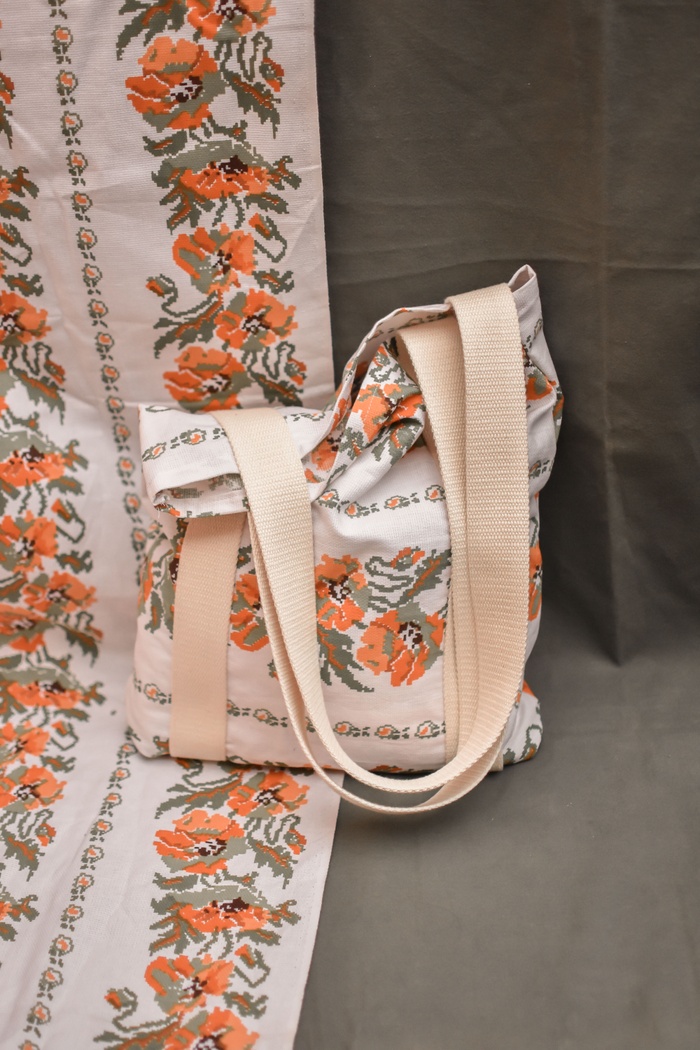
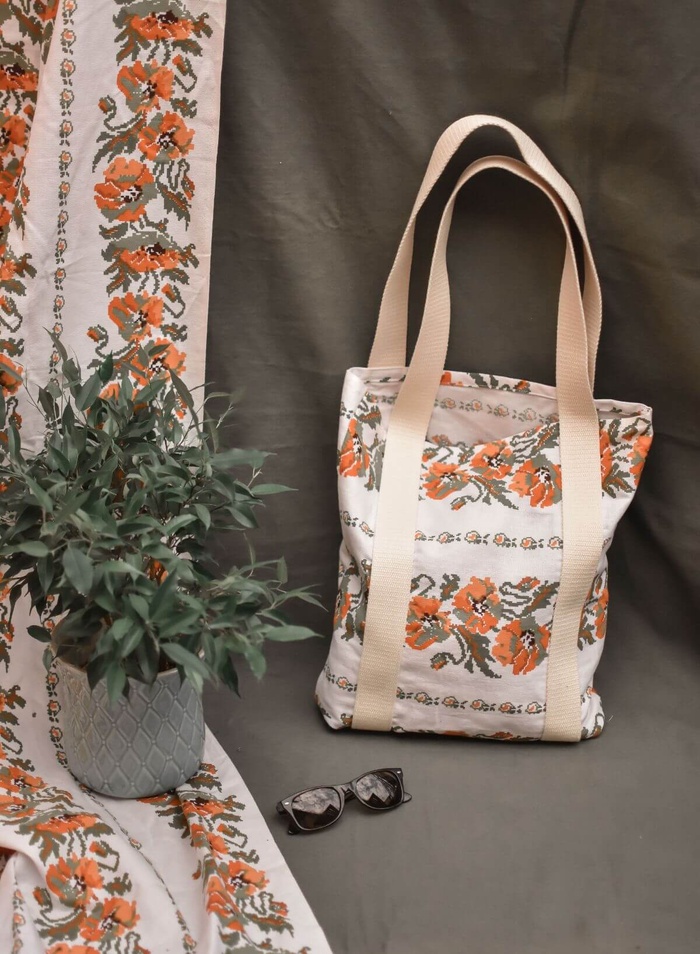
The marigold is a pretty, all-purpose plant with a wide range of medicinal effects. The marigold tote bag is the same: all-purpose accessory for all seasons and occasions, and a great gift for friends or family. This step-by-step tutorial comes with different possible variations.
Material for your tote bag
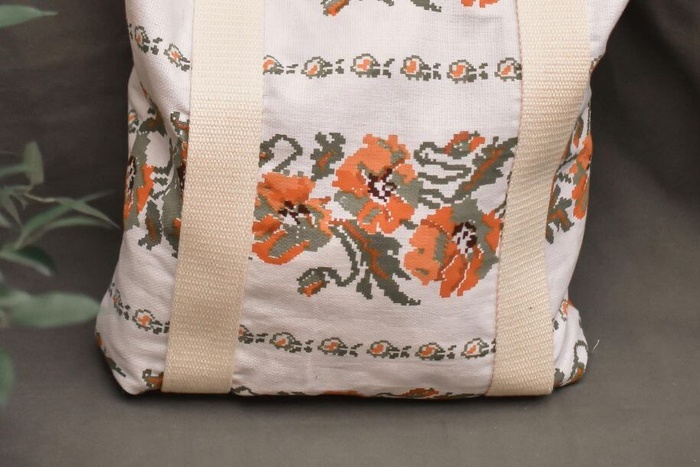
Here is the size of the tote bag I prefer: big enough to carry my computer, small enough to take on travels.
No need to buy many supplies, you can go straight to the sewing.
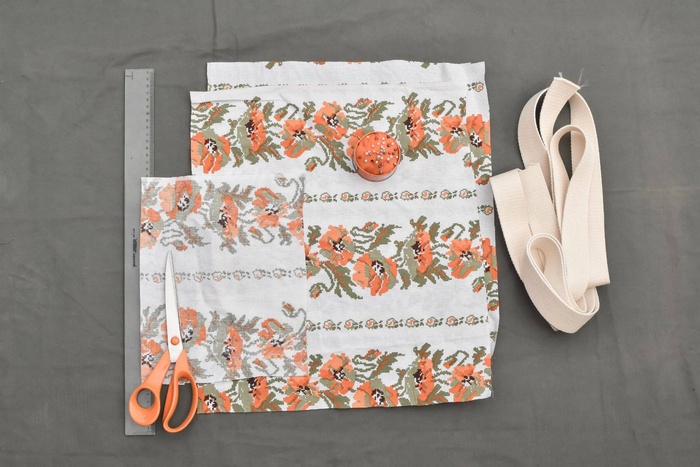
- Tote bag fabric: 2 x pieces of Medium-Heavyweight fabric such as cotton or linen, 45 x 40 cm (18 x 16 inches)
- Fabric for the inside pocket: cotton or linen, 22 x 27 cm (9 x 11 inches).
- Strap: 3 meters (120 inches) long, 5 - 8 cm wide (2 - 3 inches). You don’t have to buy the straps; you can also make your own with the fabric of your choice. See how in this extension of the Marigold tutorial.
- Sewing classics: a thread, scissors, ruler, iron, and a sewing machine
Note: 1 cm (0.4 inches) seam allowances are included in the measurements.
A few more tips and basic vocabulary for beginner sewists (skip this section)
To make sure that you cut the material straight, draw first the pattern on paper, pin the paper rectangles to the fabric, and cut them out.
Always sew a few securing stitches at the starting and ending point: go 2 stitches forward, 2 backward.
Right side of the fabric: The “pretty printed” surface of the fabric. In this case, the fabric visible on the outside of the bag.
Wrong side of the fabric: The other side, usually duller either dull in colour, not printed or with a rougher texture. The stitching is on the inside of the bag.
Seam allowance: the area between the fabric edge and the stitching line used to stitch fabric pieces together.
For more advice on sewing supplies and tips, check out this beginner sewing guide.
9 steps to sew your DIY tote bag
-
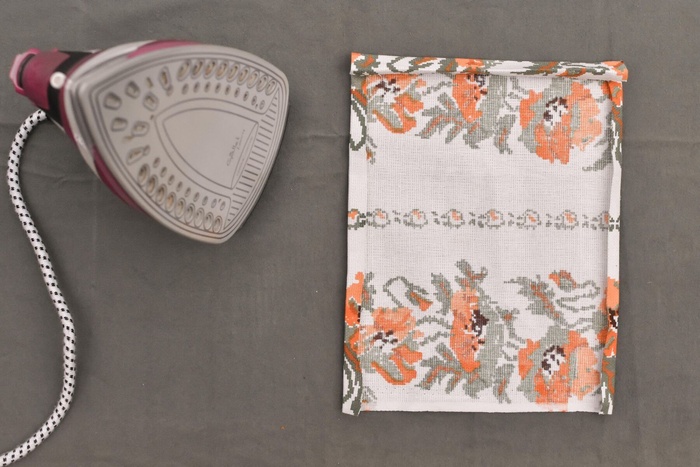
Prepare the piece for the pocket. Make a hem on the edges of the fabric: fold twice on the sides (1 cm = 0.4 inches), then on the top. Iron to make the hems easier to sew.
-
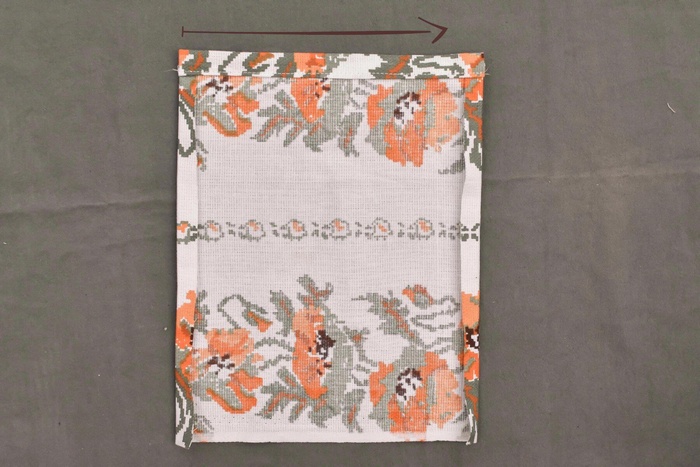
Sew the top of the fabric to make your first hem.
-
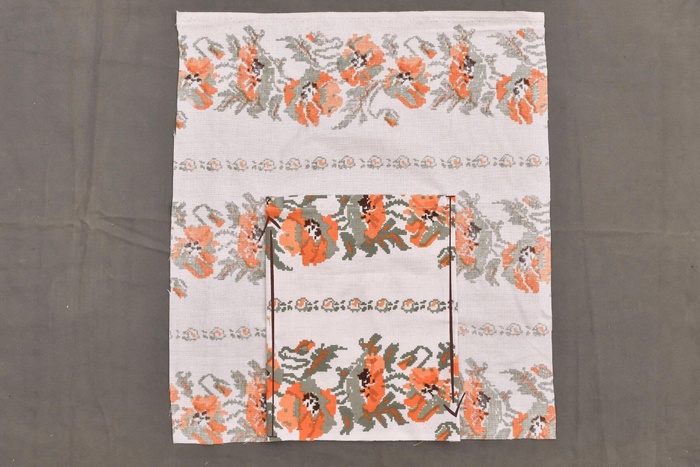
Sew the pocket in the middle of the fabric, aligned with the bottom edge of the tote bag fabric - wrong sides facing each other.
-
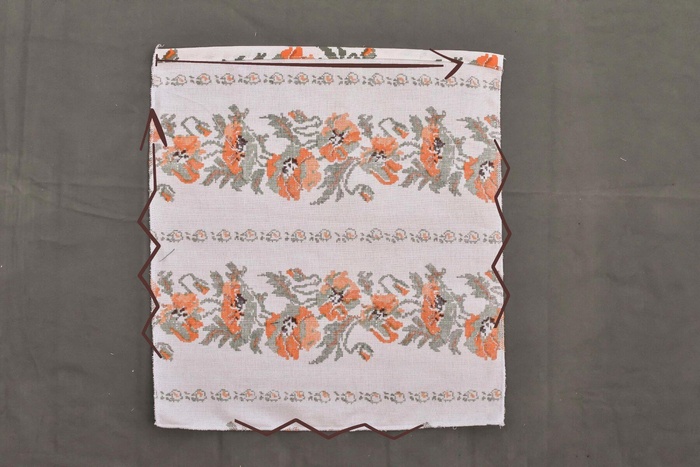
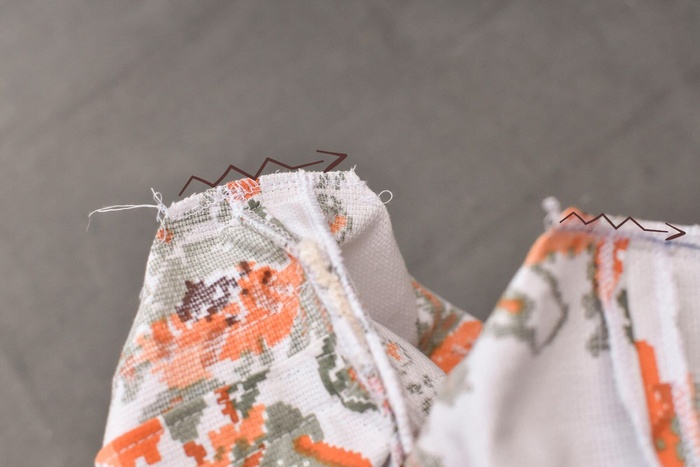
Make a hem on the top of the tote bag. Then, use a zigzag stitch (or overlock) to keep it from fraying and add strength. Do the same on the other piece.
-
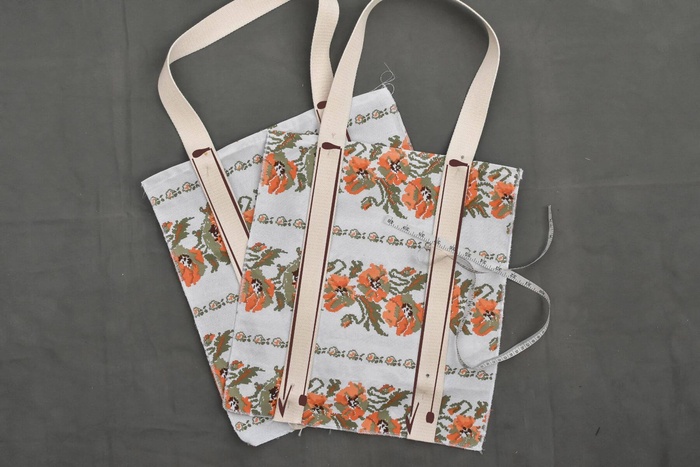
On the right side of the fabric, place and sew the strap over the side hems of the pocket (the hem should be in the middle of the strap). Place the strap on the other tote bag piece in the same way.
-
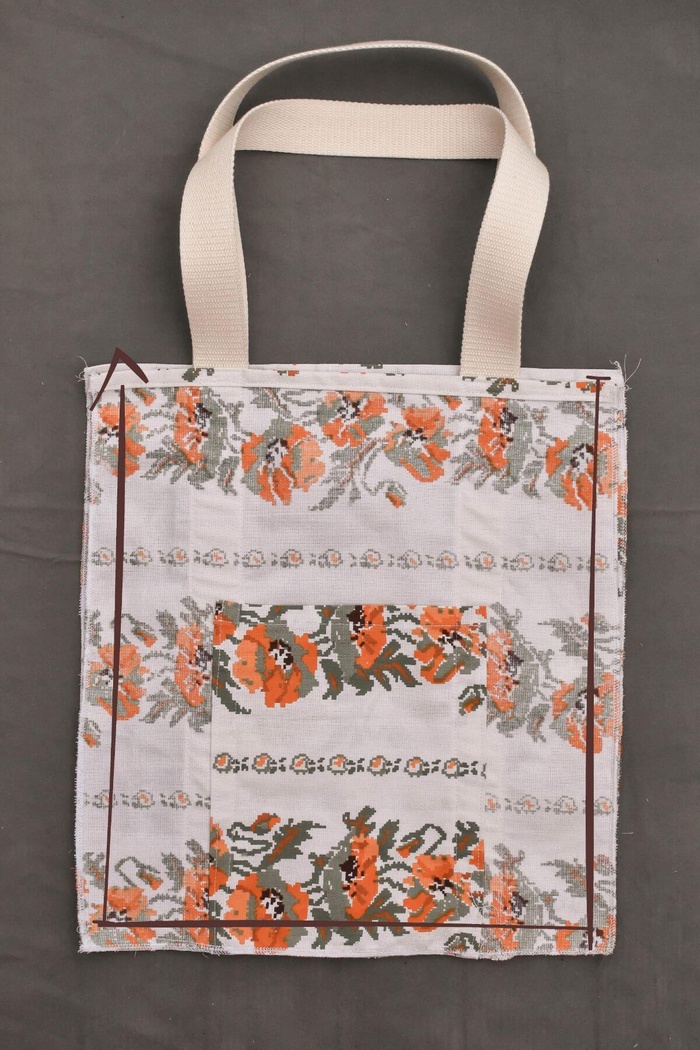
Place both pieces right sides facing and sew around the bag.
Your bag is ready! You can stop here if you are satisfied with the result!
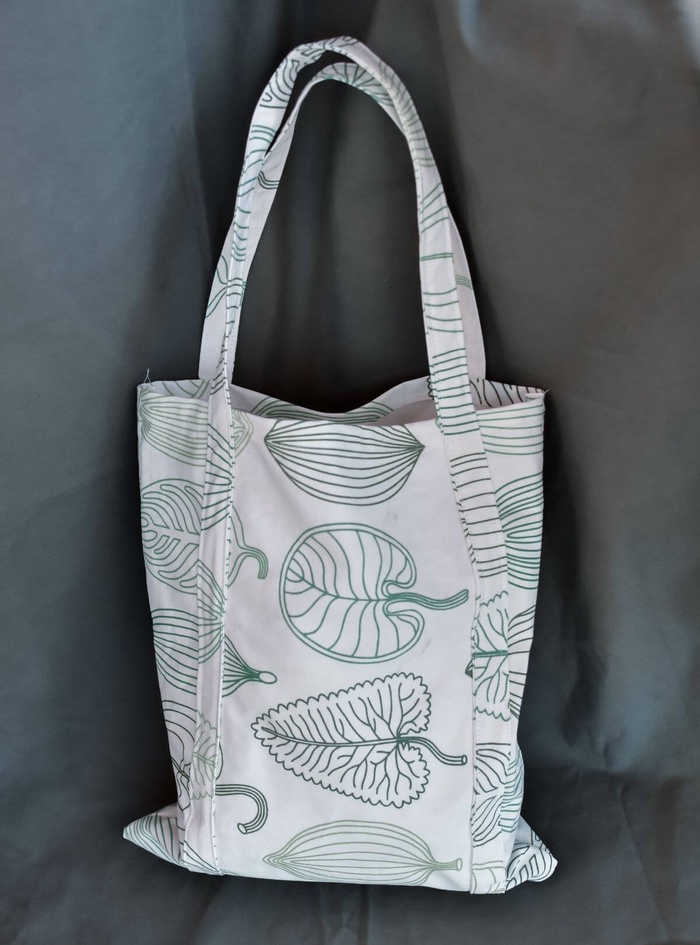
To enable the bag to keep a nicer shape even when it’s full (see picture with the green bag - the corners stick out), a few more bonus steps are needed.
-
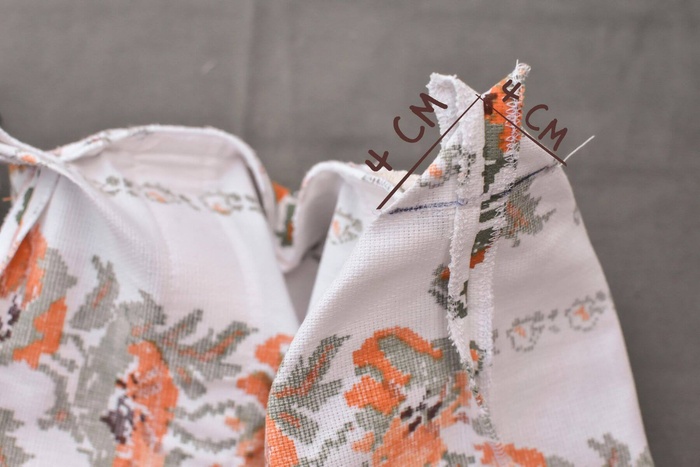
Take the bottom corner of the bag diagonally and mark a dot 4 cm (1.5 inches) from each side. Connect the dots with a pen.
-
Sew over the line and do the same for the other corner. Turn your bag right side out and check if everything is ok.
-
Cut the corners and make a zigzag stitch (or overlock) 1 cm (0.4 inches) from the border.
Finally ready! Hope you liked this tutorial and it helped you to make your (very) first sewing project! Don’t hesitate to share your makes with me on social media and tag the #marigoldtotebag :)
