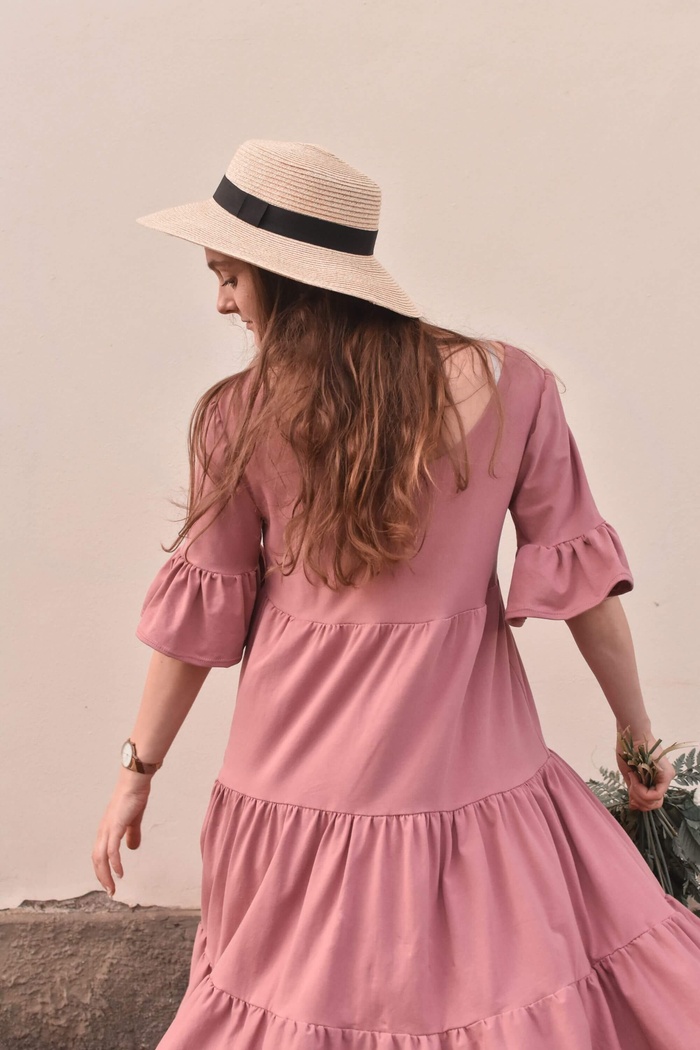
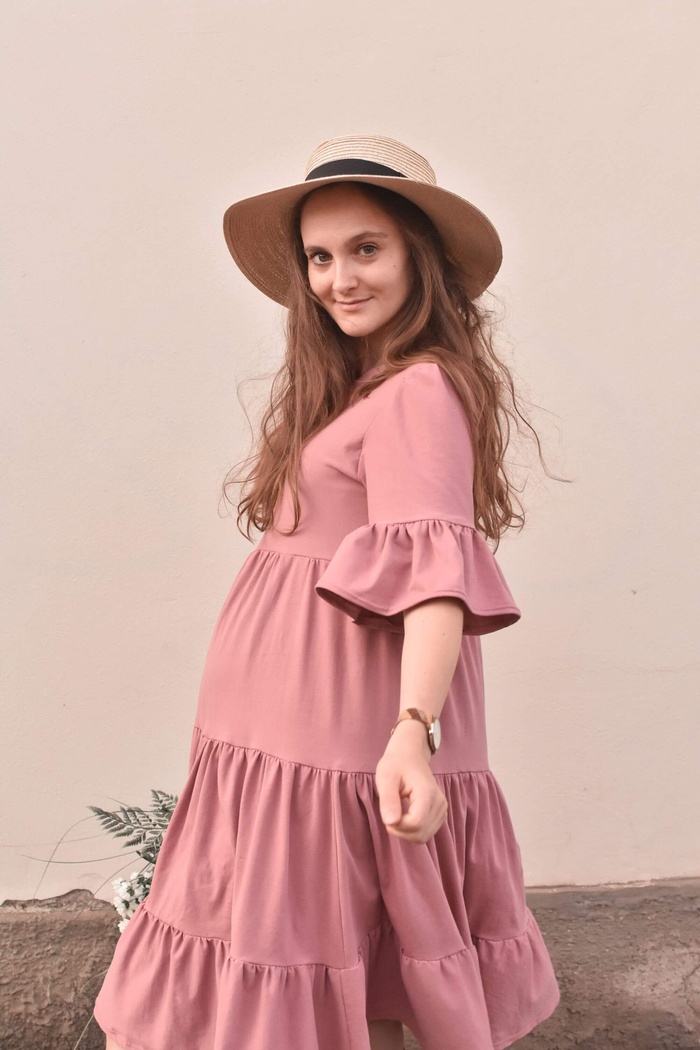
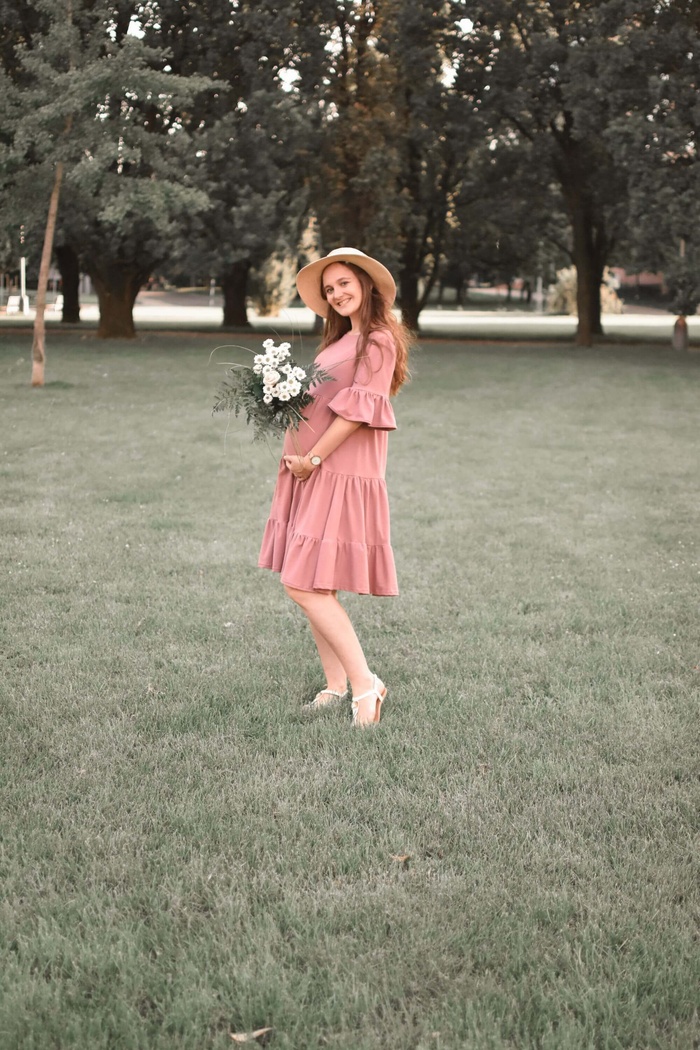
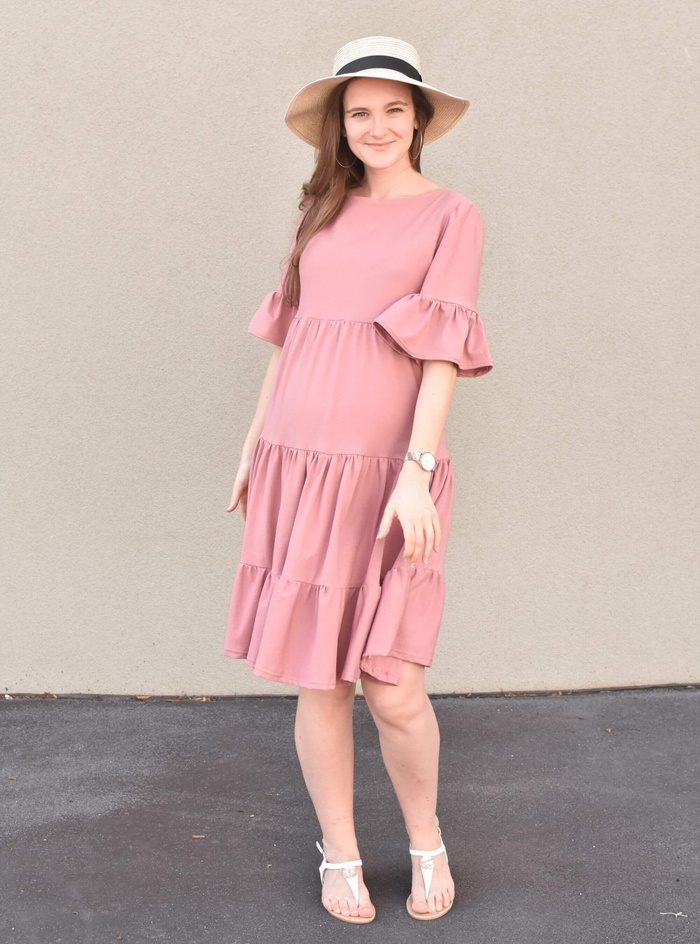
Tiered dress pattern inspired by the Mira from Fibre Mood
Friday, July 23, 2021
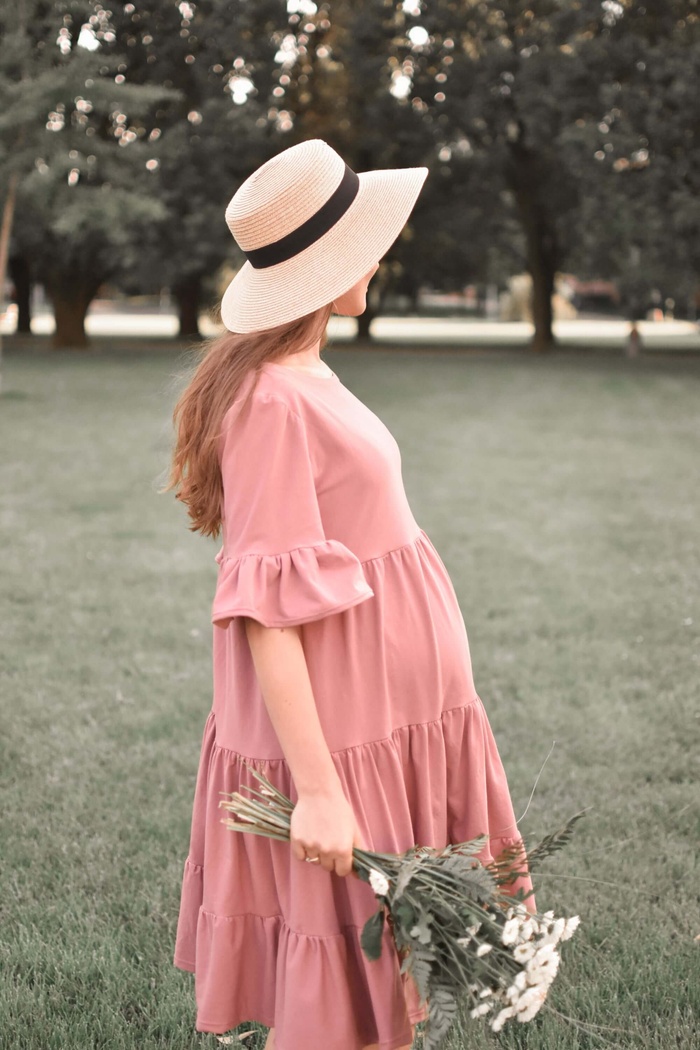
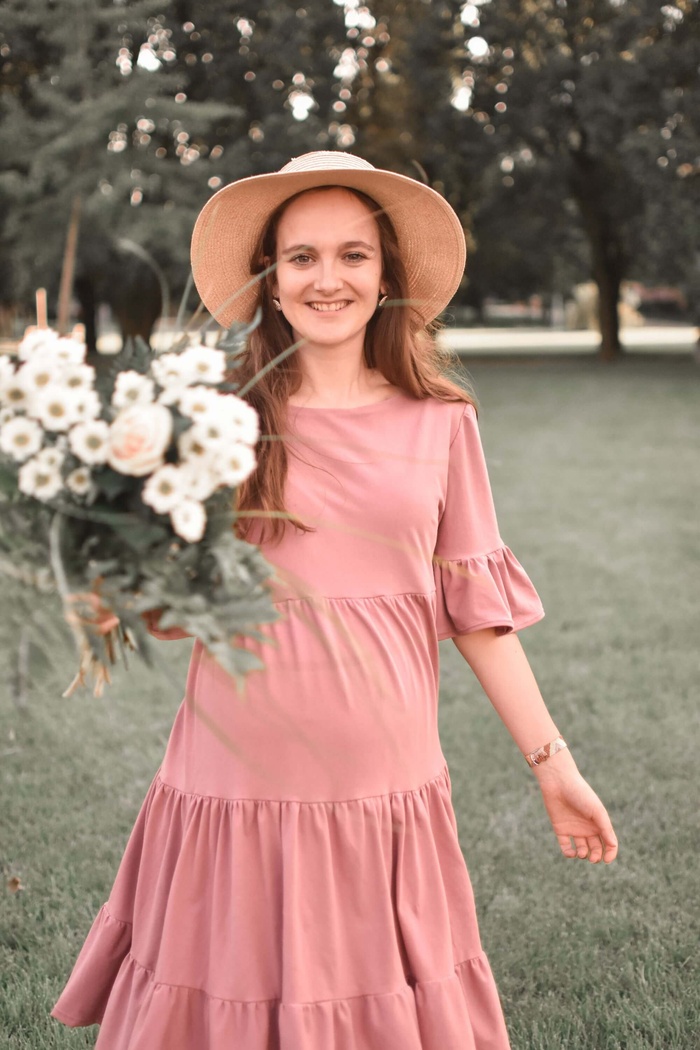
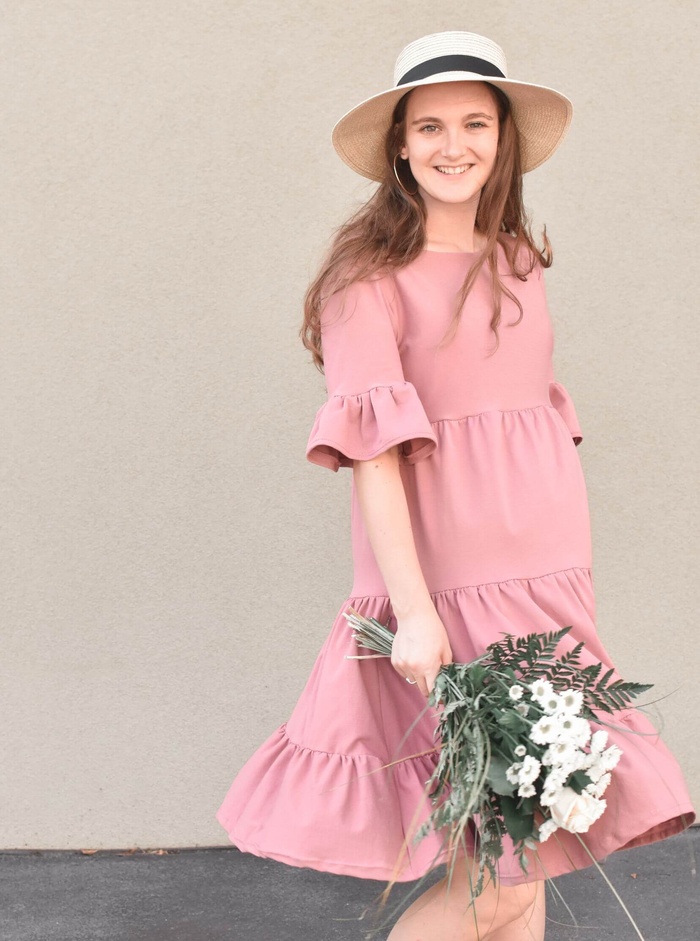
You might have noticed in my previous dress tutorial that I love adapting patterns. It saves money, and I can customize clothes the way I like. Here is another Fibre Mood inspired make, the Mira dress, with lots of ruffles to freshen up the hot summer.
Generally, I am not one for super loose fits; my pear-like body shape looks better when the waist is form-fitting. But being pregnant and not having almost anything to wear, I had to change my style. When I saw the Mira dress, I knew I wanted to wear the same, and not only during pregnancy. What’s more, the stretchy GOTS-certified fabric makes it super soft and comfortable to wear.
Material for the tiered dress
- You can check out the Fibre Mood size table to estimate how much fabric you will need. I used three meters of GOTS from Terry Moda Latky for a 38 size.
- Sewing classics: Matching thread, scissors, sewing machine etc.
Pattern inventory
Choose a simple bodice pattern that you like.
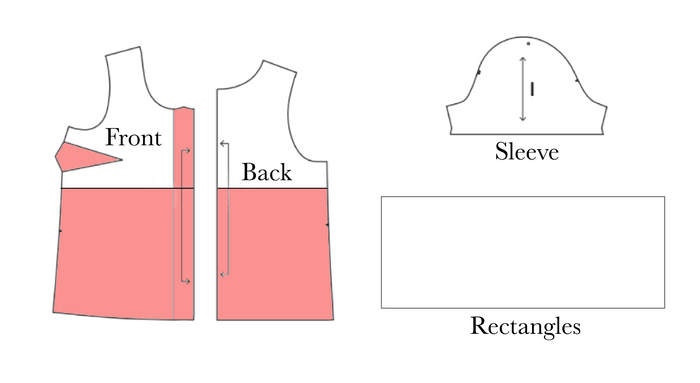
- 1x front piece, 1x back piece for the bodice
- 1x front piece, 1x back piece for lining the bodice - I prefer lining patterns as it looks cleaner and more professional.
- 6x rectangle bands for the tiers of the dress
- 2x rectangles for the sleeves
Don’t have a favorite bodice pattern you have previously made? In that case, you can retrace a t-shirt you like or retrace the bodice according to the free Sorbetto top pattern from Colette patterns. More tips on how to use the Sorbetto pattern below.
Rectangle measurements
Cut two rectangles each time: one for the front, one for the back side. Generally, I like to follow the rule: “to make a ruffle, cut the rectangle twice as wide as the other piece it would be attached to”. I didn’t follow the rule completely this time as I didn’t want the dress to be too heavy. Here are the measurements I used:
- Tier 1 = 27cm x 70 cm
- Tier 2 = 27cm x 120 cm
- Tier 3 = 22cm x 200 cm
- Sleeve ruffle = 15cm x 80cm
Tip: Many variations are possible; the ruffle bands can be narrower or wider, with decorative ribbons between the seams. So don’t cut all the fabric pieces from the start. Cut them progressively to see how much fabric is left, and play with the ruffles, making them smaller or bigger depending on your taste.
1. Bodice
Start with the bodice, as this is the only part that needs to fit you perfectly over the bust.
Assemble the bodice
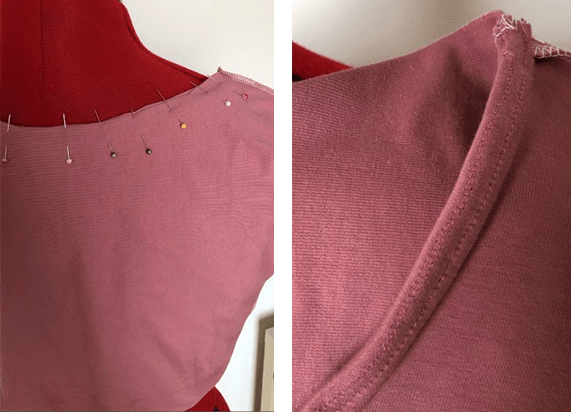
- Assemble the front and back pieces together. Shoulder and side seams together.
- Sew the lining into the neckline
- Understitch the neckline
2. Ruffles
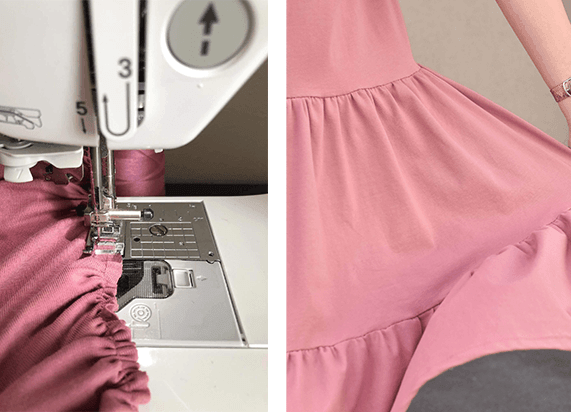
When you are done with the bodice (check if it fits!), the rest is super simple to construct. But don’t be mistaken, simple doesn’t mean fast. The gathering can be very time consuming as there is loads of fabric to gather.
- Make ruffles - sew two parallel lines with your longest stitch and highest tension.
- Assemble the bodice to Tier 1 rectangles. Then Tier 1 to Tier 2, and finally 2 to 3.
- Hem the last ruffle with a twin needle.
Tip: I recommend you first buy a gathering foot for your sewing machine before jumping into ruffles. I plan to buy one during my next shopping for sewing as it looks so much easier and faster to make regular ruffles.
3. Sleeves
Depending on your preference, you can also adapt the sleeves. You can keep the dress sleeveless, add short sleeves, or long sleeves. I opted for simple sleeves from the Sorbetto top pattern and added a small ruffle.
Sorbetto top
I used Colette’s pattern as a basis for my dress: removed the box pleat that was in the middle; cut the bodice pattern just below the breast line and removed the darts (see in red on the picture). I used the sleeve pattern, but for the rest, I just made smaller or bigger rectangles for the ruffles.
GOTS-certified fabric
I have always been afraid of sewing stretchy fabric because it seemed tricky to make straight hems. But I couldn’t resist when I saw this old-fashioned organic pink. It wasn’t all easy, but it wasn’t as difficult as I thought. Jersey is so soft and nice to wear and it doesn’t wrinkle, which is a great bonus, because I hate ironing. Especially ruffles.
3 tips for sewing jersey fabric
- Stretch stitch (zigzag): for the parts of the dress that will get stretched. The rest can be done in a regular stitch, but I prefer to use a stretch stitch everywhere.
- Super stretch needles: Use needles adapted to sew stretch fabric.
- Twin needles for seams: To avoid breaking twin needles (happened to me twice during this project 😅) - sew slowly, make sure the tension is right, that the needles are not getting twisted, and check which stitch you should use on your sewing machine.
All in all, even if it took me quite a long time to finalize this dress (I was struggling with the ruffles and the twin needles), I am really super happy with the result. I am basically wearing it all the time and am thinking of making another one soon.
And you? Do you like ruffles and flowy dresses?
PS: check out my Instagram reels if you want to see this dress in action 💃
